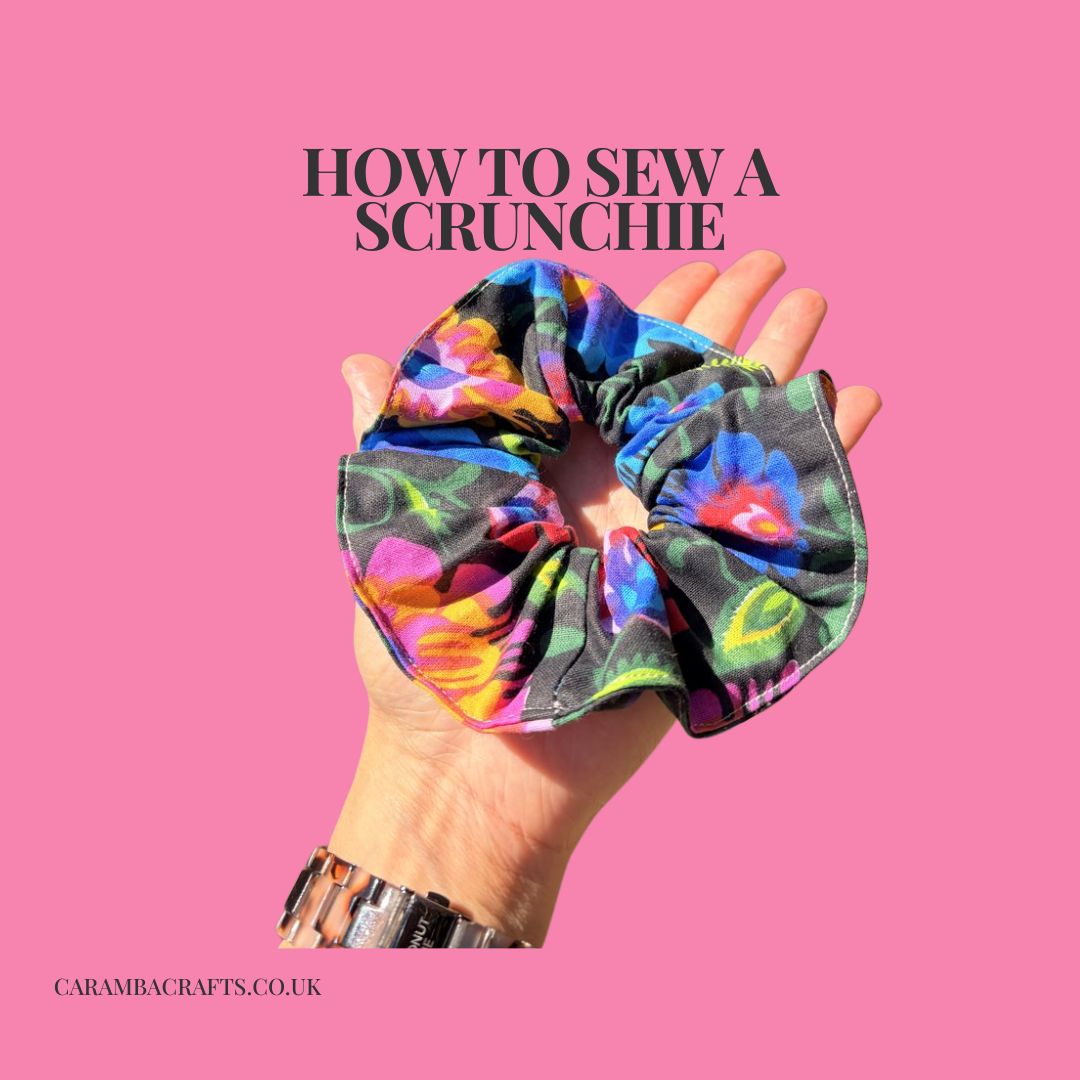
How to Sew a Scrunchie: 4 Different Techniques (And Why It’s the Perfect Make)
This post contains affiliate links, which means I may earn a small commission if you buy through them, at no extra cost to you. I only recommend products I use and love.
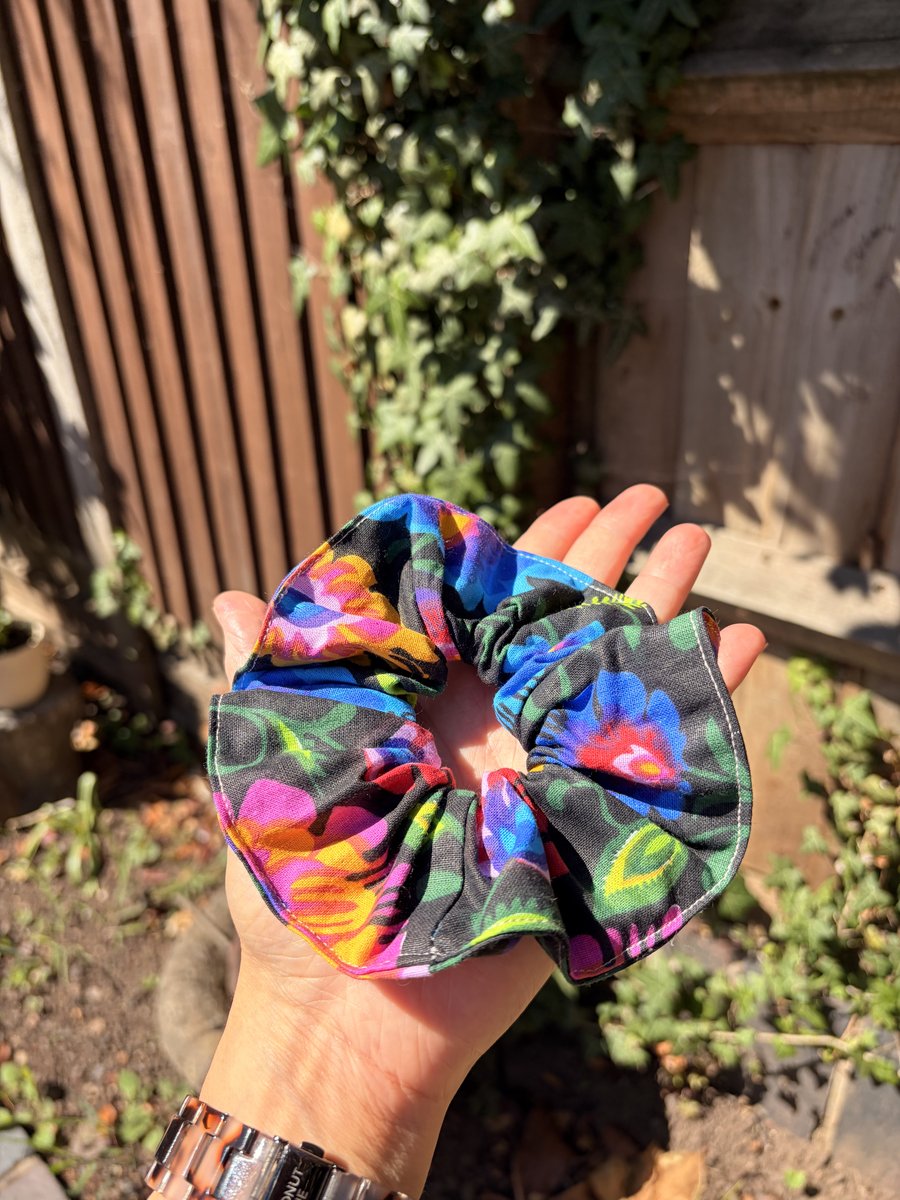
I made my first proper scrunchie out of a piece of fabric I’ve been holding onto since 2019. It’s the very first fabric I ever bought for sewing, from an independent seller online, not long after my in-laws gave me a sewing machine for my birthday. I genuinely don’t know why it took me this long to cut into it. It survived two house moves and two babies and more unfinished projects than I want to admit, and somehow it never once occurred to me that it would make a lovely scrunchie. It just sat there, too special to use on the wrong thing, until very recently.
Now it’s a finished scrunchie sitting on my desk, and I keep looking at it slightly amazed that the fabric I bought as a total beginner, with no real idea what I was doing, finally became something.
I switched from hair bands to scrunchies for a simple reason: hair bands wreck my hair. The thin elastic snags, pulls and breaks strands every single time I take it out, and I got tired of finding the evidence on my hairbrush. A fabric scrunchie does the same job without the damage. Once I started actually looking at scrunchies properly, I realised they’re not all made the same way. Some are flat and neat. Some are big and puffy. Some have a little bow tied at the seam. They’re all the same basic idea, sewn slightly differently, and the differences are genuinely worth knowing if you want to make scrunchies that feel a step up from the ones in the supermarket aisle.
This is also, hand on heart, one of the best projects in your entire sewing repertoire. Here’s why.
Why the scrunchie might be the perfect make
Everyone needs one. Not everyone needs a quilted wall hanging. Everyone needs something to tie their hair back with, and a hand-sewn scrunchie that doesn’t pull or snag is an easy upgrade nearly anyone will appreciate.
It’s the gift that always lands. Birthday, teacher present, stocking filler, just because. A scrunchie, or better, a little set of three, is thoughtful without being a big ask of your time, and it never feels like a throwaway gift.
It’s a genuine craft fair or online shop seller. Low material cost, fast to make, easy to batch in multiples. Buyers are used to paying a fair price for something that looks good and feels soft against their hair.
It’s the ultimate scrap buster. A scrunchie needs barely any fabric. A strip as small as 18 to 22 inches by 3 to 5 inches, depending on the technique, is exactly the size of fabric that’s too small for anything else and too good to throw away.
That charity shop silk scarf with a small stain on one corner. The leftover lining from a coat you made years ago. A few good inches salvaged from a project that didn’t turn out the way you hoped. Scrunchies don’t need much, and they don’t need perfect, which makes them the best possible home for fabric that’s too precious to discard and too small to use anywhere else. Mine sat waiting for six years before it found its project, and that’s fine too.
Put those together and you have a project that costs you almost nothing, takes very little time, and produces something that is genuinely wanted, whether you’re keeping it, gifting it, or selling it.
The burrito method, at a glance
Keep scrolling for the fold method too, all 4 styles, free patterns, and the small details that elevate them
Technique 1: The Classic Scrunchie
This is the one most people picture and the easiest to start with. A simple fabric tube, elastic threaded through, sewn closed. It’s neat and reliable, and the technique every other version builds on.
There are two common ways to actually put it together, and it’s worth knowing both. I used the second one on mine.
Method A: The Fold Method
Cut a rectangle of fabric, fold it in half lengthwise with right sides together, and sew along the long edge to create a tube. Turn it right side out, thread flat elastic through using a safety pin, then sew the elastic ends together and close the fabric opening by hand or machine.
Free tutorial: How to Sew a Scrunchie, Bethany Lynne Makes
The width of your fabric rectangle controls the puff, which is the bit that surprised me most when I first tried this. A narrower strip, around 2.5 to 3 inches, gives a neat, smooth scrunchie. A wider strip, 4 inches or more, gives a noticeably chunkier result from exactly the same technique. Worth cutting a couple of test widths to find your favourite.
Method B: The Burrito Method (this is the one I used)
This is the method behind the scrunchie on my desk, and it’s worth trying once you’ve got the fold method down. Rather than folding the strip in half, you sew the two short ends together first, right sides together, to form a flat loop.
Lay that loop flat and roll it up on itself so the bulk of the fabric sits rolled inside. Sew along the remaining long open edge with the roll tucked in, leaving a small gap unsewn.
Now reach into the gap and pull the rolled fabric through. For a normal scrunchie length you’ll likely need to do this in stages rather than one continuous pull. Mine took three rolls before the whole thing was turned the right way out, with half the fabric still rolled up inside and half already pulled clear each time.
Once it’s fully turned, thread the elastic through as usual and join the ends. Then, instead of just hand-stitching the small gap closed, sew all along the outer edge of the scrunchie. That single line of topstitching running the whole way round is what gives a burrito-method scrunchie its clean, almost shop-bought finish, and it’s genuinely satisfying to do.
Free tutorial: How to Sew a Scrunchie Using the Burrito Method, Sunday Sewing Club
Technique 2: The Knot Bow Scrunchie
This is the one that looks like you’ve tied a little fabric bow over the seam, when really you’ve just sewn on a separate piece. It elevates a plain scrunchie into something that looks considerably more put together for barely any extra effort.
How it works: make your classic scrunchie using either method above, then sew a small separate fabric piece (using a free template), turn it right side out, tie it in a simple overhand knot, and secure it around the scrunchie’s seam to hide the join.
Free pattern and template: Easy Knot Bow Scrunchie Tutorial, Orange Bettie
This is a brilliant one to batch. Sew a pile of plain scrunchies on one day, then a pile of bow pieces, and assemble them together. It also gives you a way to mix fabrics: a plain scrunchie body with a contrasting or patterned bow looks deliberate, not mismatched.
Technique 3: The Scarf Bow Scrunchie
A more sophisticated cousin of the knot bow. Instead of a tied knot, this version has two fabric tails that hang down like a little scarf, giving the impression of a handkerchief tied around your hair.
How it works: the scarf piece is cut from a template, sewn and turned the same way as the knot bow, but instead of a simple knot, it’s tied so the two pointed ends hang loose as tails.
Free pattern and template: How to Make a Scrunchie Plus 3 Bow Options, Sarah Maker
This style photographs particularly well and tends to feel a little more grown up. Worth making in a quality fabric if you’re planning to sell these, since the extra visual interest justifies a slightly higher price point.
Technique 4: The Oversized / Puffy Scrunchie
A note on the dimensions in that tutorial: the original post lists 22″ × 4.5″, but that’s actually too narrow to give the oversized look shown in the photos, a discrepancy even the original author has acknowledged in the comments on her own post. For a genuinely oversized result, go wider, closer to 22″ × 9″ to 22″ × 10″. The extra width is what creates the dramatic puff, the same principle as the width note in Technique 1, just taken much further.
If technique 1 taught you that width controls puff, this technique takes that to the extreme on purpose. Oversized scrunchies have had a real moment, and they’re a lovely way to use a slinky fabric like silk or satin.
How it works: the same basic tube-and-elastic method, but using a notably wider and often longer rectangle, ideally in a fabric with some drape (satin, silk, or a soft viscose) so the extra volume falls nicely rather than standing stiffly away from the head.
Free tutorial: Oversized Scrunchie DIY, A Beautiful Mess
A small but important tip for silky fabrics: their cut edges fray more than cotton, so a dab of fray check or fabric glue along the raw edges before sewing makes a real difference to how neatly the finished scrunchie holds up.
Bonus: The Hidden Pocket Scrunchie
Worth a mention if you want to make something genuinely a little different. A scrunchie with a small hidden zip pocket built into the seam, just big enough for a folded note or a hair pin, makes a lovely, more special gift.
Free tutorial: Scrunchie with a Hidden Zipper Pocket, AllSewPetite
Elevate Any Scrunchie With These Small Details
A scrunchie is a tiny project, which means small upgrades make a disproportionately big difference to how finished it looks.
Match your thread to your fabric. This is the single best-value upgrade you can make. Because a scrunchie uses so little thread, you can afford a proper colour-matched thread without it costing you anything close to what it would on a larger project. A Gütermann sew-all thread set in a range of colours means you’ll almost always have the right shade on hand, and matched thread is the difference between a seam that disappears and one that looks like an afterthought.
Use proper flat elastic. Flat scrunchie elastic holds its shape and grips hair far better than a thin round cord, and it’s what gives a handmade scrunchie that noticeably better feel than a cheap shop-bought one.
Add a small decorative detail. A tiny fabric flower or pearl charm pin stitched at the seam, a short length of delicate ribbon trim woven in, or a couple of mini tassels hanging from the join all turn a plain scrunchie into something that looks intentionally designed, and gives you a clear deluxe version to price higher if you’re selling them.
Finish raw edges properly on delicate fabrics. A small bottle of fray check or fabric glue is an inexpensive thing to have in your kit for silk, satin and looser weaves.
A Note on Selling These
If you’re considering adding scrunchies to your own shop or a craft fair table, they’re an ideal impulse buy or add-on item, priced low enough that someone buys without much deliberation, but with enough little upgrades (matched thread, a bow, a decorative pin) that a set of three or four feels like genuinely good value. If you want to work out exactly what to charge once your materials and time are accounted for, my Handmade Pricing Calculator will do the maths for you in seconds. Useful even on something this small, because the little decorative touches do add real cost that’s easy to forget to factor in.
That 2019 fabric finally became something, and I’m honestly a bit proud of it. I’m planning a proper batch next using offcuts from recent projects, so expect more real photos to follow. If you make a set, tag me on Instagram or Pinterest @caramba.crafts. I’d love to see which technique you went for.
Shop this post
This post contains affiliate links. I may earn a small commission at no extra cost to you.